The instructions below are based on the free version of Mobipocket Creator Publisher Edition 4.2. Mobipocket Creator is only available for PC.
Because you’ve created an HTML file from your original document, you can of course preview your file in any web browser, to check if everything’s looking consistent and all the images are there. If everything looks okay in the browser then the conversion should go smoothly; if not, you’ll need to fix the code. Remember that your images should be in the same folder as your HTML file.
At the bottom of many of the pages in Mobipocket Creator is an Update button. If you make any edits, make sure you press Update before leaving the page, or your changes will be lost. Forgetting to press Update is very easy to do.
Book conversion step-by-step
Clicking on any of the screen captures below will enlarge them.
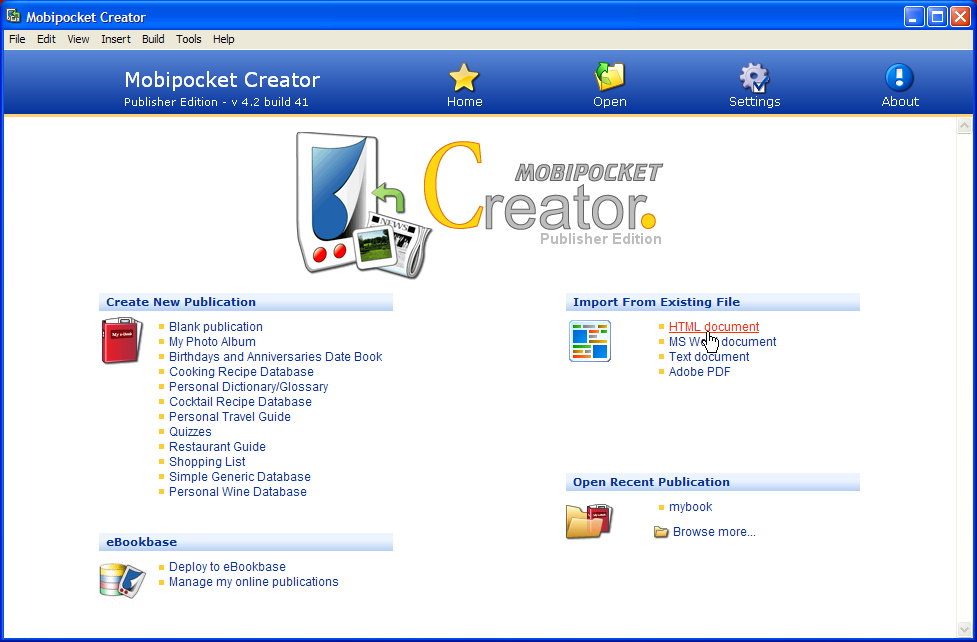
Here is the welcome screen for Mobipocket Creator. Under the ‘Import From Existing File’ heading select ‘HTML document’
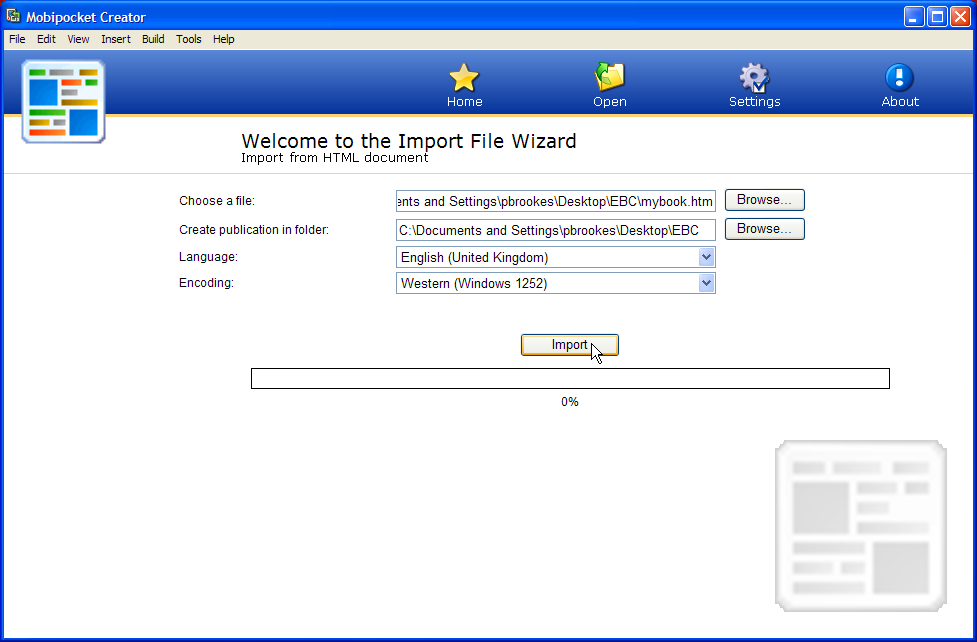
Press the Browse button by the ‘Choose a file’ field to find and select your document (alternatively you can drag the icon over the box, which will insert the filepath).
Press Import to load your file. (This is usually a painless procedure; the only problem I’ve ever had is when the HTML file has no – or an incorrect – header (see Page Structure in this post for an explanation). You can ignore the other settings unless your book is in a language other than English; if so, select the correct language from the Language drop-down box.
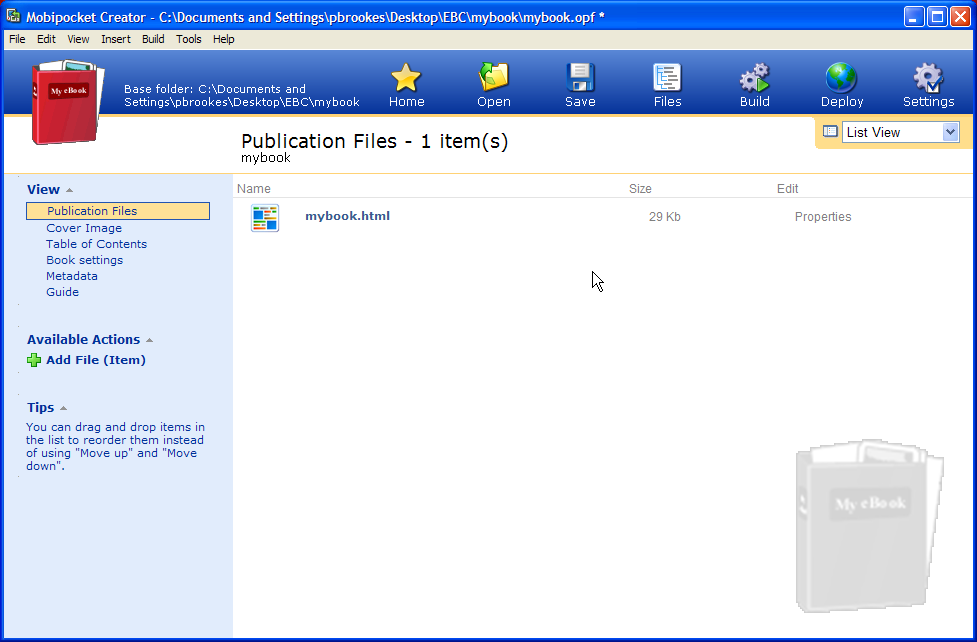
If successful, you will see this screen:
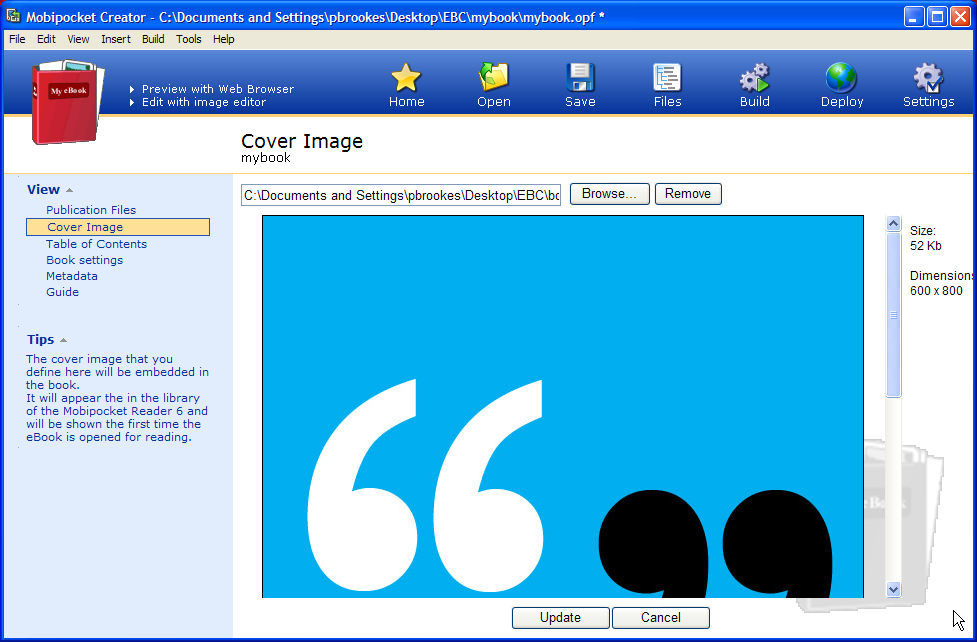
In the left-hand pane, select Cover Image. Even if you’re just testing and haven’t finalised your cover image, the software can behave oddly and produce error messages if there isn’t one there. (If you need a dummy cover image, then download this one, which is the correct size.)
Drag the cover icon over the window or press the Add a Cover Image button to navigate to the folder. Then go to the bottom of the screen and press Update.
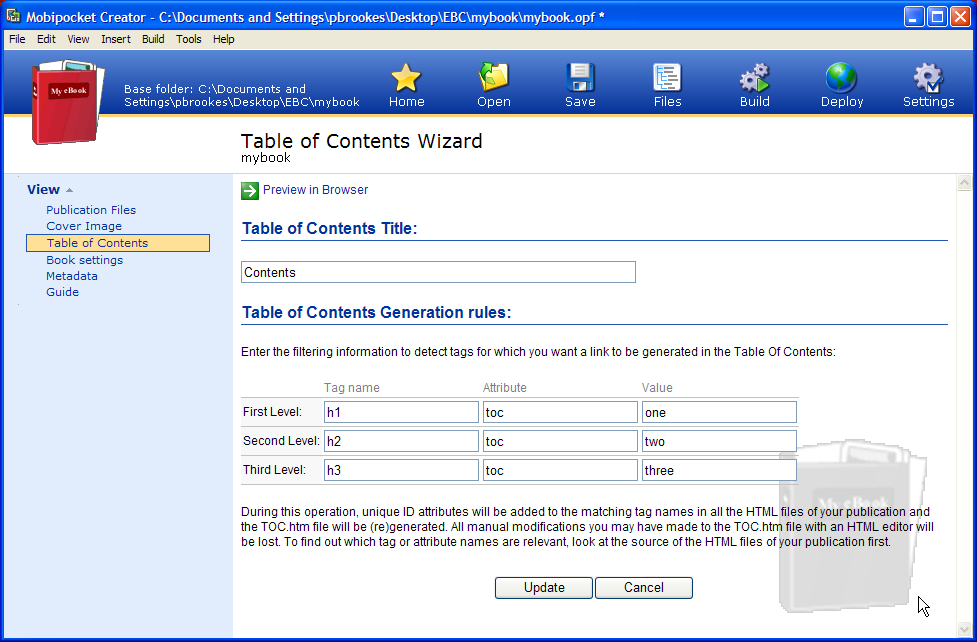
In the left-hand pane, press the Table of Contents button. The software will build the TOC for you, but only if you have your heading tags just as it likes them – see this post for details. You can have up to three levels of headings in your TOC; fill in the values as shown in the picture. You can also change the title.
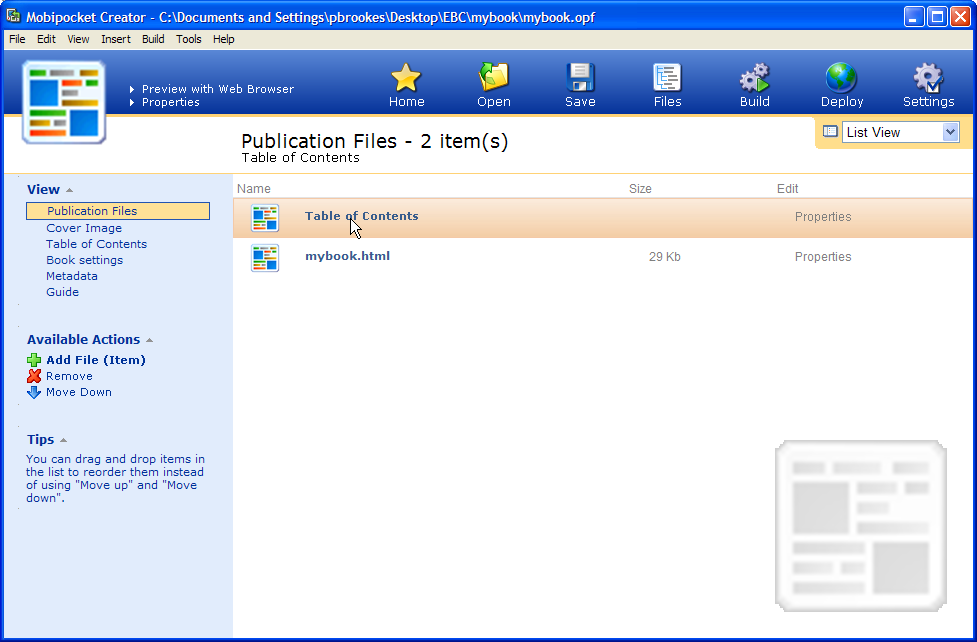
When you press update, it will take you back to the Publication Files screen, creating a new file for the TOC. If you highlight this file, you can preview the TOC by pressing the ‘Preview with Web Browser’ link at the top of the page and see if it’s working properly.
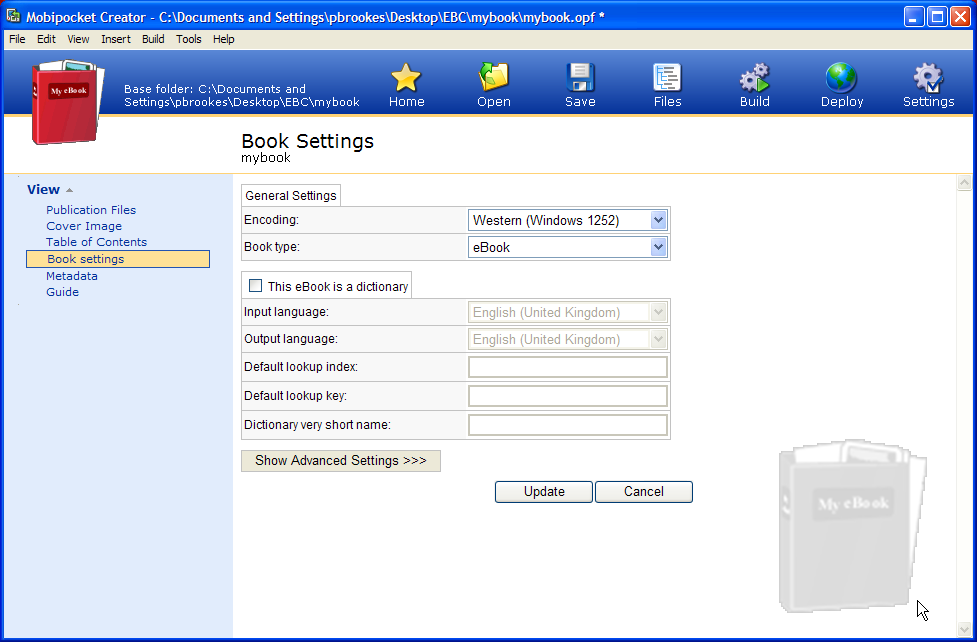
The Book Settings pane you can probably ignore, except to change the Book Type to eBook (or whatever). If your book actually is a dictionary, you’ll have to look elsewhere to find out how to fill in these fields.
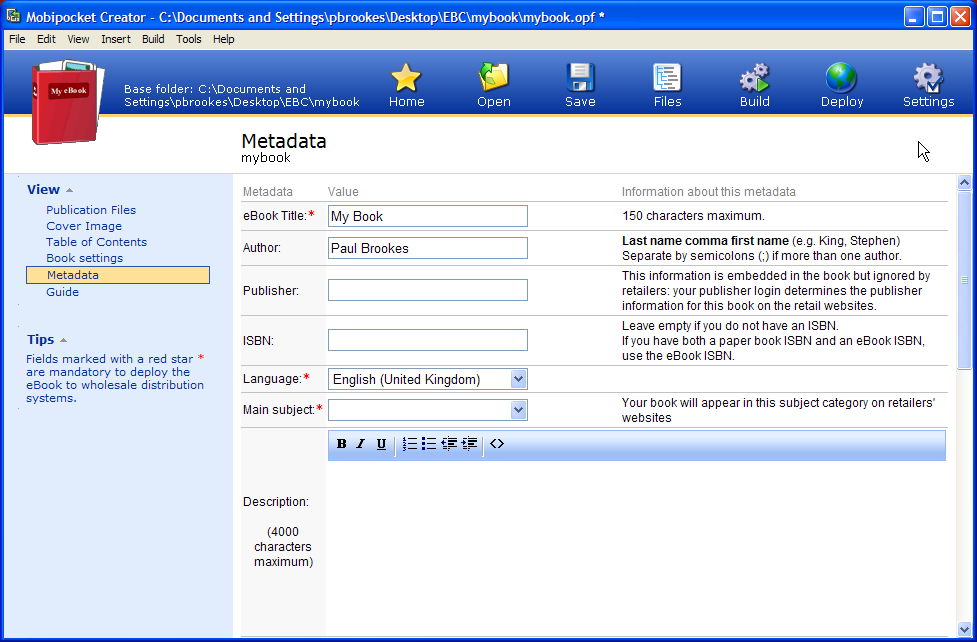
In the Metadata field, fill in as little or as much information as you like. The fields with red asterisks are mandatory. Do not forget to scroll to the bottom of the page and press Update.
The ISBN field is for the International Standard Book Number, if you have paid for one. Whether you need one or not for an eBook is debatable; I’ve outlined the subject here.
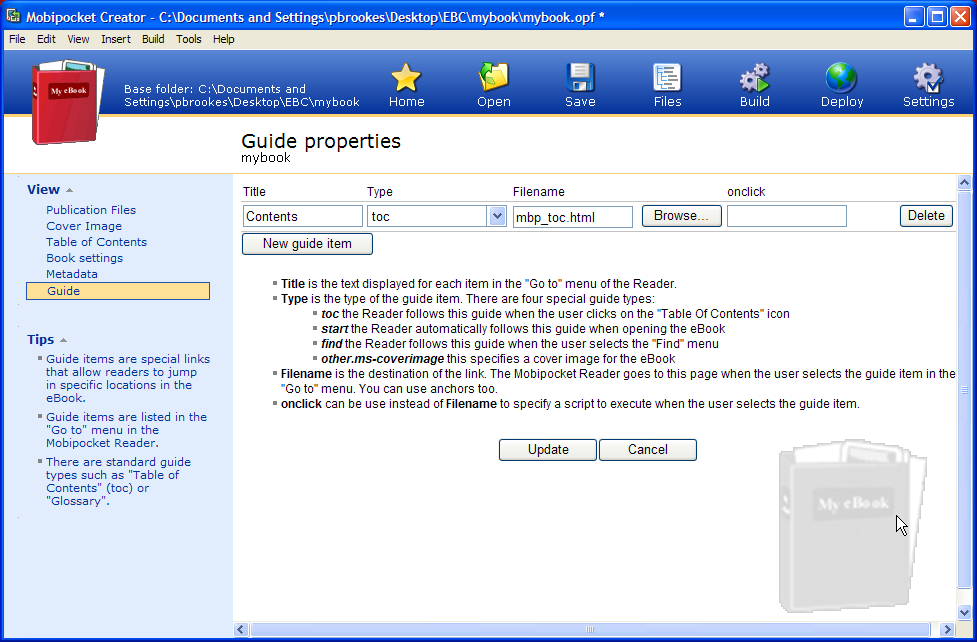
The Guide pane you can probably ignore; this is an advanced feature and I may write something in the future about using this. All it does is create additional buttons when you press Menu > Go To on your Kindle. For most people, it’s not worth worrying about.
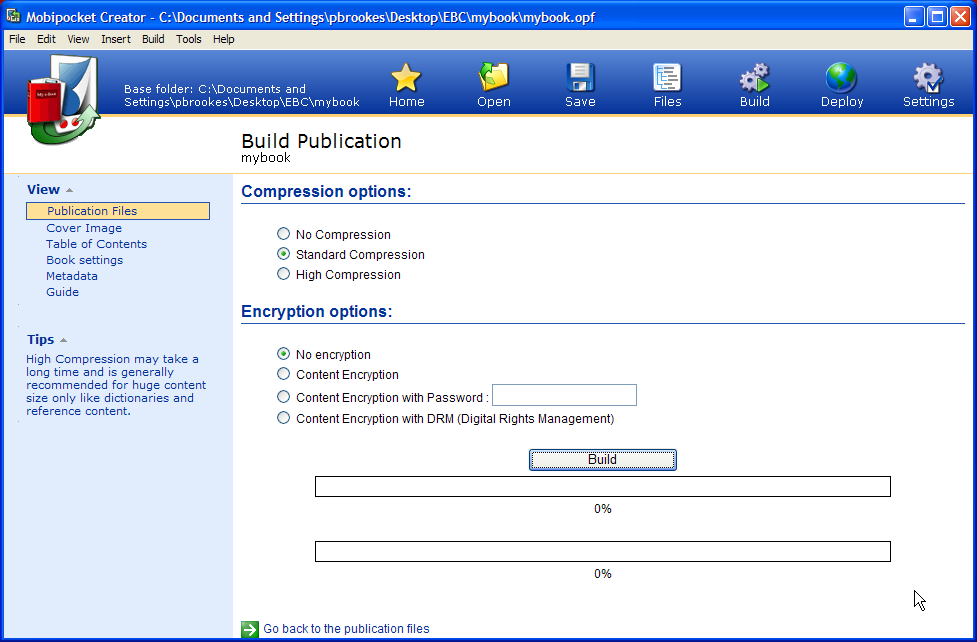
Once you’re finished, press the Build button on the top menu. I recommend keeping the default setting; you may need to select High Compression if your book is unusually large or has lots of images. Encryption (DRM) is another big topic, which I outline here; if you do decide to use it, it’s better to do it as part of the upload process when you add put your book up for sale – some vendors allow DRM; some don’t.
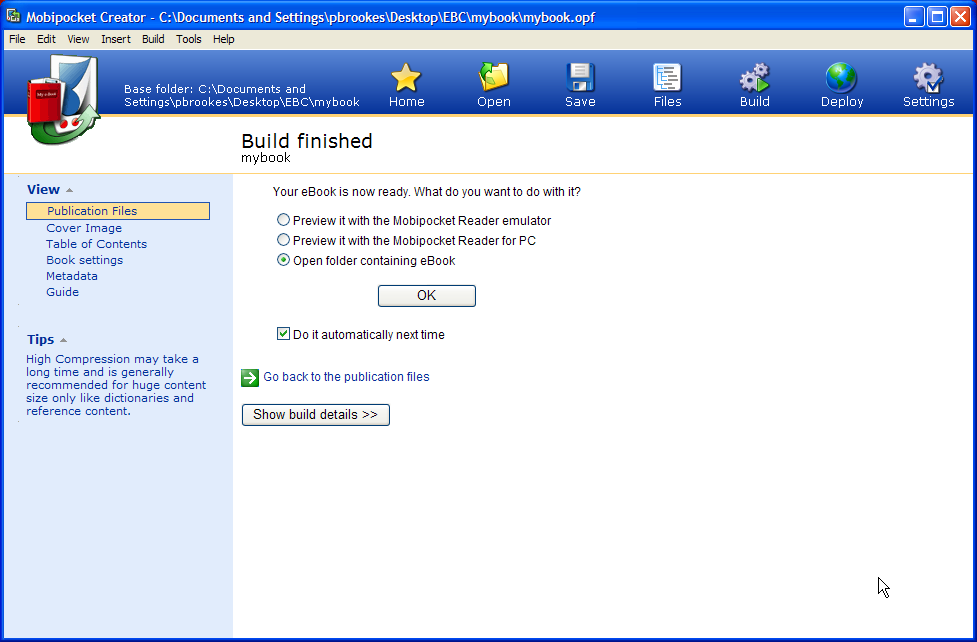
If all’s gone well, you should see this screen. For viewing the output, I recommend selecting the default ‘Open folder containing eBook’ option, which will open the folder. The file itself will have the extension .prc, which you can open in Kindle Previewer. If Kindle Previewer is not associated with the file, you’ll have to right-click on it and select Open With, then Choose Program. If Kindle Previewer is on the list, highlight it and select the ‘Always use the selected program to open this kind of file’ checkbox. If it’s not on the list, you’ll have to press Browse and hunt it down – the program is called KindlePreviewer.exe and it will probably be in C:\Documents and Settings\Local Settings\Application Data\Amazon\Kindle Previewer.
Troubleshooting
Here is a list of issues and fixes I’ve personally experienced in the last few months. If you can add any useful information, please leave a comment.
- Incorrect header in the HTML. This is a bit of text at the beginning of the HTML file that identifies it as an HTML document. It should look something like the text shown here (see Page Structure)
- Images in the wrong place. This is usually the result of not including a cover. Although Mobipocket Creator will output a readable file if you don’t have a cover loaded it will give you an error message and odd things may happen to the output file
- Updates to the file do not appear. When you update the source HTML file, you must delete the old one from Publication Files and copy over the new one. Unless you’ve made changes to headings, you shouldn’t have to build a new table of contents
- Data entered has gone missing. This is usually the result of forgetting to press the Update button. It’s easy to do
- Image not found errors. If you get this message, first check that the images are in the same folder as the file, then check that the filenames match up (remembering that they’re case sensitive). However, I’ve occasionally had this error even when the code was correct. What fixed it was adding all the images to the Publication Files page by dragging them onto the window – which is not something you should do normally – and doing a build. Once you’ve done this, the software seems to behave itself and you can delete them from the list
- Table of contents not outputting correctly. As I’ve mentioned, Mobipocket Creator is very fussy about this. Check the markup in Notepad++ and that you’ve filled in the fields correctly.
Robert James Bridge
on Aug 27th, 2012
@ 5:49 pm:
I have five books on amazonkindle kdp at this moment and for all five I used Mobipocket creator 4.2 without any problems thus far?. I have just completed another novel of historical fiction and had the cover illustrated for me by a designer,but I have been reading a lot about the new Kindle Fomat 8 system and of how it is the best avenue to go down rather than Mobi.I was able to delete the Mobi pocket creator once I had finished which is what I wanted at the time,but wonder what your thoughts are on the new Kindle format 8,and if you were me a pensioner would you stay with mobi or go to kindle format 8,plus can you delete format 8 and previewer after use like the Mobipocket Creator?.thanks for your help in this matter.Robert James Bridge uk.
spa
on Jul 18th, 2013
@ 10:20 pm:
Can you give me the private e-mail address of the
owner of this posting because I would like to see if I could ask
a question regarding this article.
Jane
on Oct 30th, 2013
@ 8:30 pm:
How are we supposed to determine if the image names match up? And if they don’t? The .html file is generated by the application, and we cannot change any scripting in there. I’m interested because NONE of my images are showing up (except the cover image). Thanks.
Jane
on Oct 31st, 2013
@ 1:41 pm:
Actually, I’ve now figured out how to access the .html in order to edit it, but all my images are showing up at the end of the book, not where they were placed, interspersed. Any ideas about this?
Jane
on Oct 31st, 2013
@ 2:40 pm:
Just adding that I DO have a cover image that is appearing correctly as the cover. But the other images are all showing up at the back of the book. Any ideas? You seem to know what you’re doing. Thanks.
Ariyo
on May 23rd, 2014
@ 10:43 am:
I have a mobipocket ebook reader and I want to use a mobi creator to encrypt with password.Pls i need someone to help me out and give me the steps.
Ariyo
on May 23rd, 2014
@ 3:38 pm:
Pls everyone out there to help me out.I want to secure my mobipocket ebook and I use mobipocket creator.After using creator to secure it,it can not display my images and text anymore,all what it brings is an error.I went to the html to put the body tag,it still bring error.Pls anyone help me out of this,if there is another software that i can use to secure my mobi pocket without an error.
Nashville SEO
on Jul 13th, 2014
@ 7:25 am:
Hmm is anyone else encountering problems with the pictures on this blog loading?
I’m trying to determine if its a problem on my end or if it’s
the blog. Any responses would be greatly appreciated.
Domingo
on Aug 25th, 2014
@ 6:33 am:
Thanks for finally writing about >Converting files with
Mobipocket Creator (Kindle) ? eBook Conversion <Loved it!
Chris
on Nov 17th, 2014
@ 8:24 am:
Hello! I don’t know if you heard about this tool, but I suggest trying kitpdf.com to convert pdf documents into epub or mobi formats which can be easily readable on the eReader. It can also make webpages into pdf files, for those who need.